
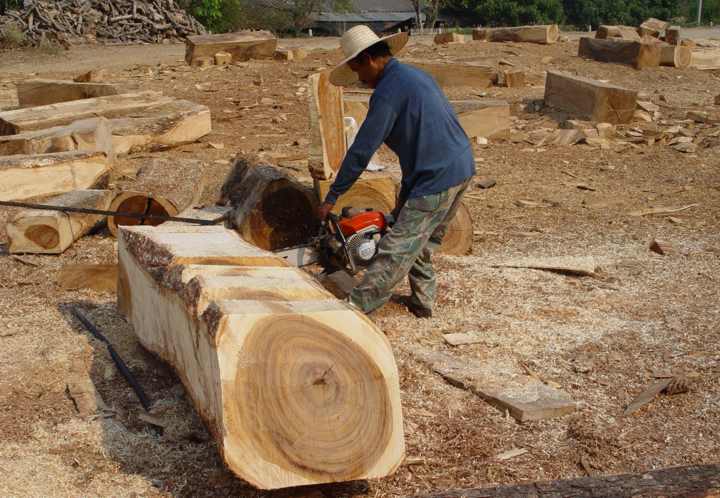
The rougher starts by squaring up and sizing the log to the overall dimension of the carving.
Steps involved in producing a wood carving
Click for thumbnails, not full size images
Roughing out the basic shape with a chainsaw:

The rougher starts by squaring up and sizing the log to the overall dimension
of the carving.
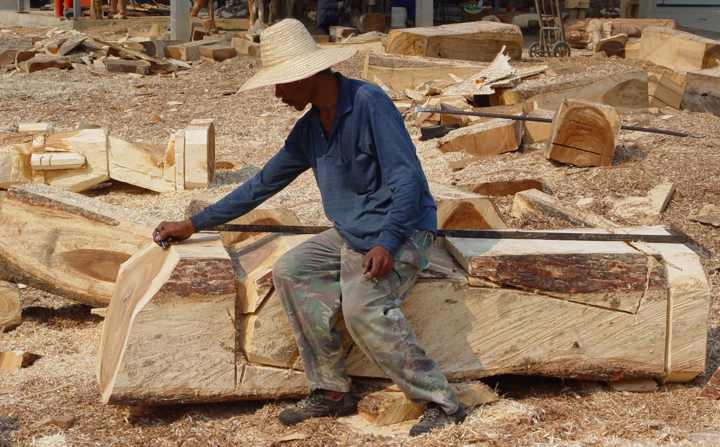
Then the rougher begins to form the carving's side profile.
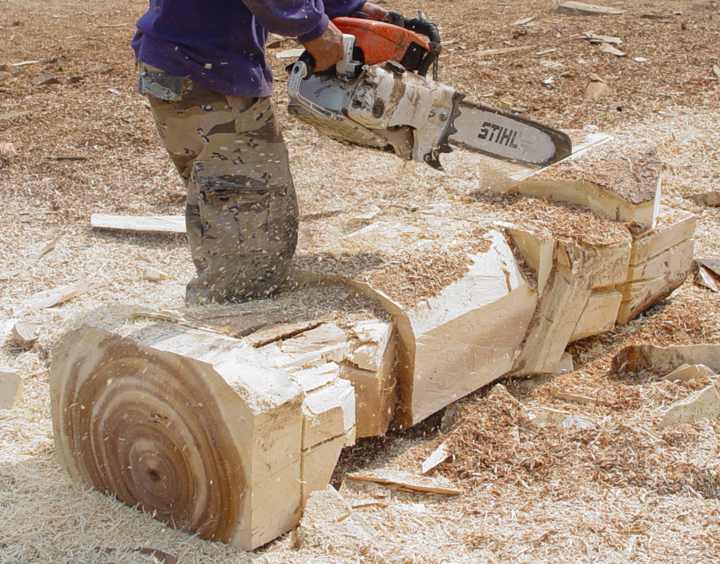
The side profile is taking shape. Notice on the right, the base, feet and
front of the legs are easily distinguished.
More detail is added forming the front profile. The arms can be seen towards
the right.
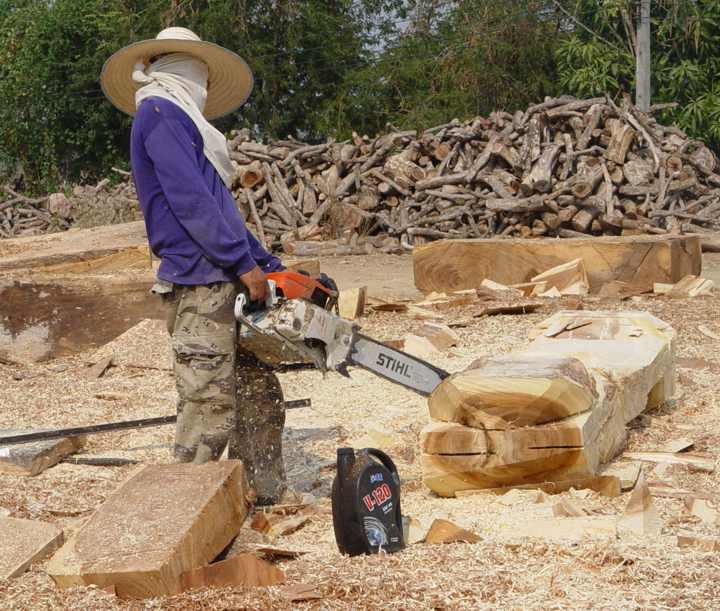
The rough carving is almost done and ready for the hand work.
Carving the details with hand tools:

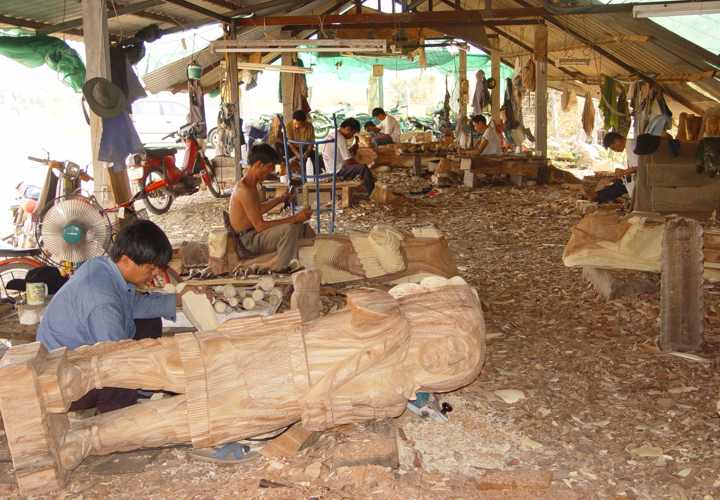
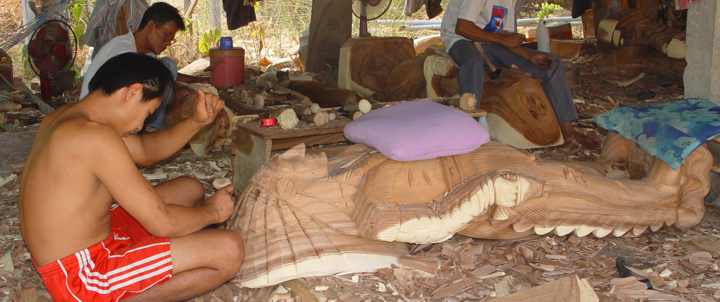
This is the most time consuming part of the carving process, the hand work.
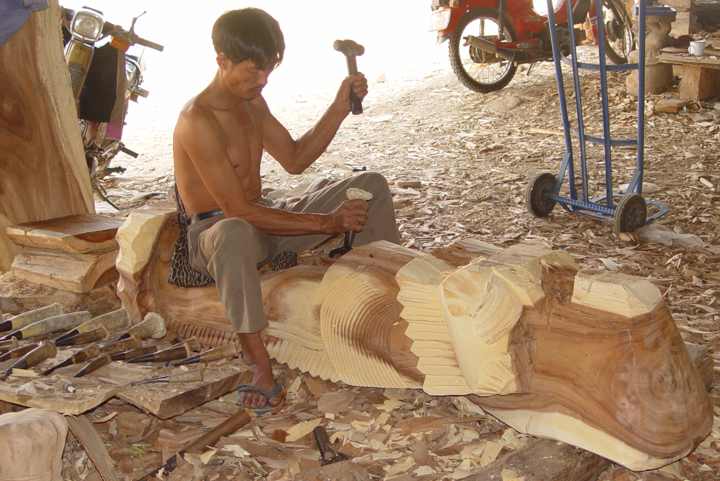
Notice the tools near the carvers right hand.
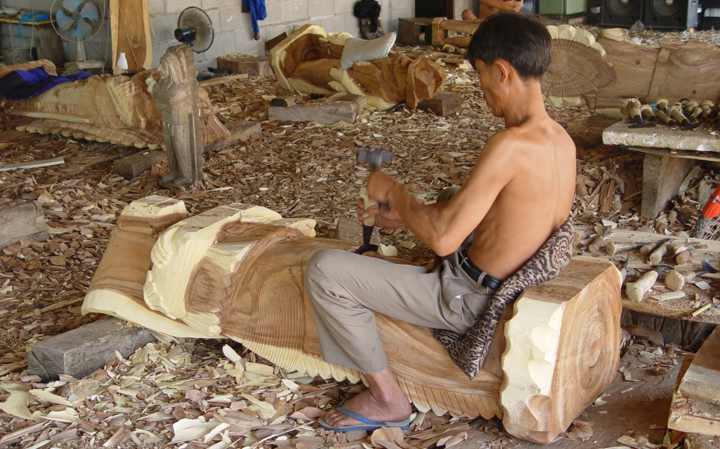
Might as well get comfortable, he's going to be there for a while.

The carving is fairly close to hand roughed and ready for the face.

The face is being carved
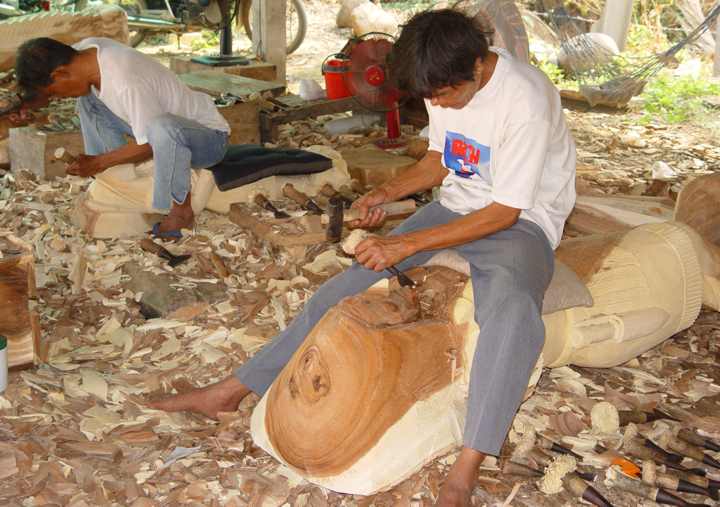

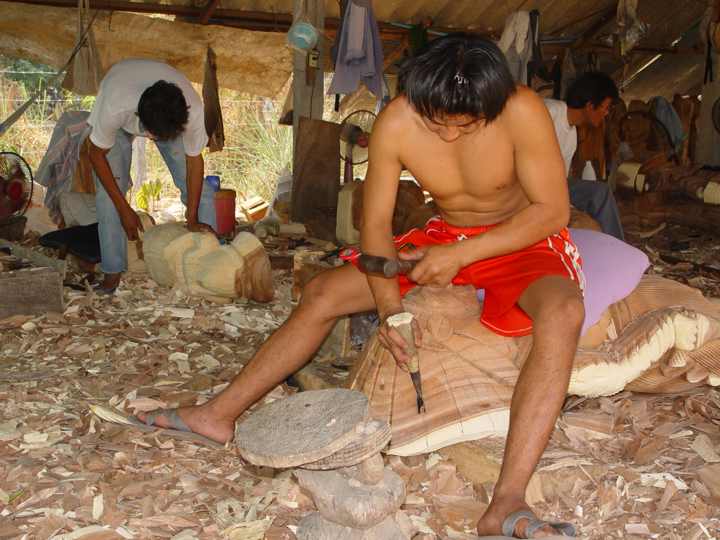
More fine details are added
Kiln drying the carvings before finishing:
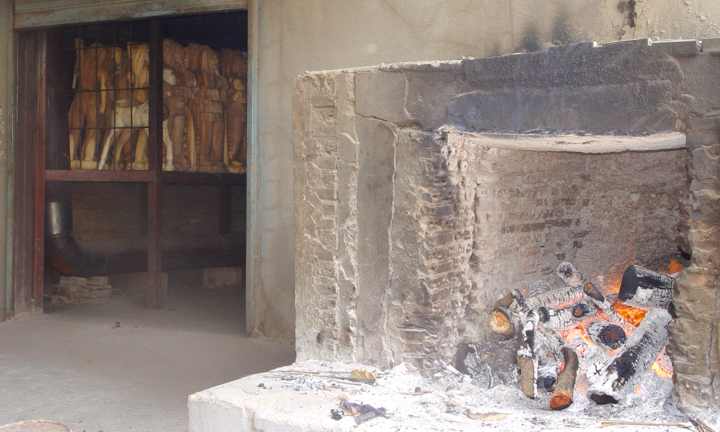
This is the kiln's firebox. The heated air is ducted into the kiln to dry the
wood.
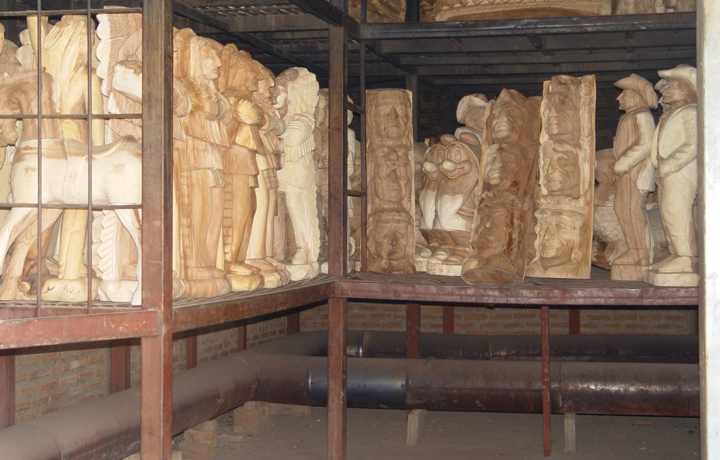
Here, 40" carvings are racked above the heat ducts for even drying
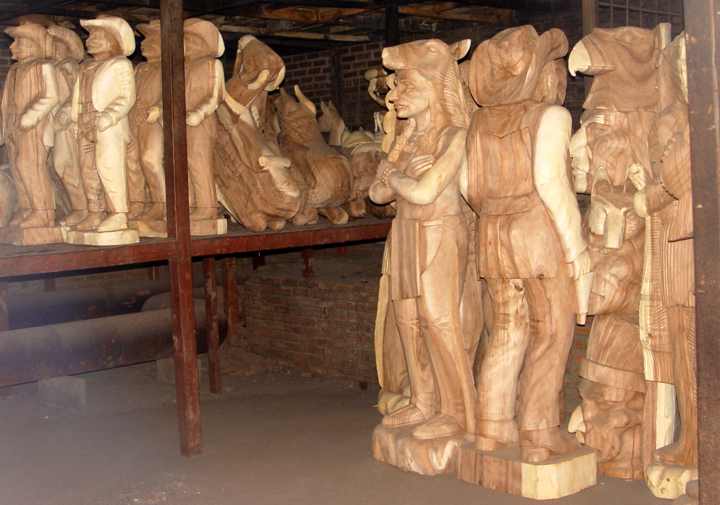
This image shows both 40" and 70" carbings being kiln dried.
Finishing the wood surfaces:
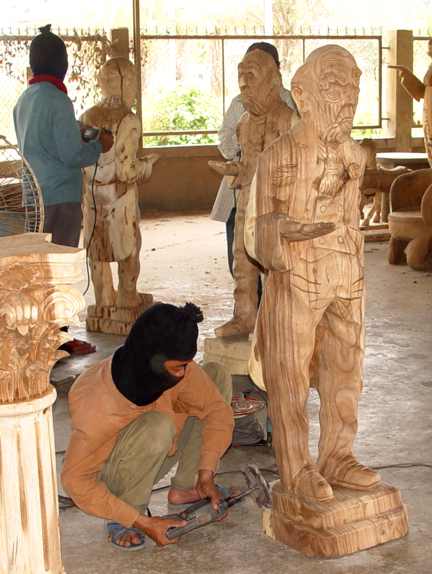
Sanding is the final step in the finishing process.
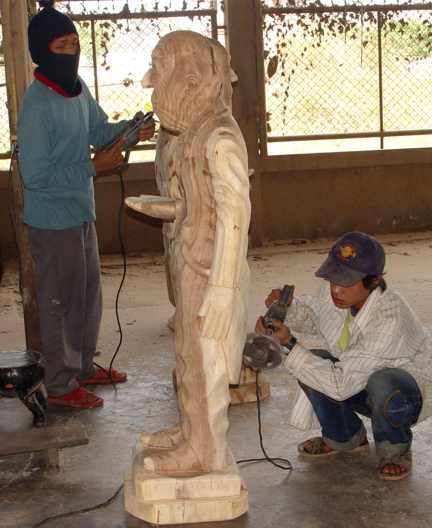
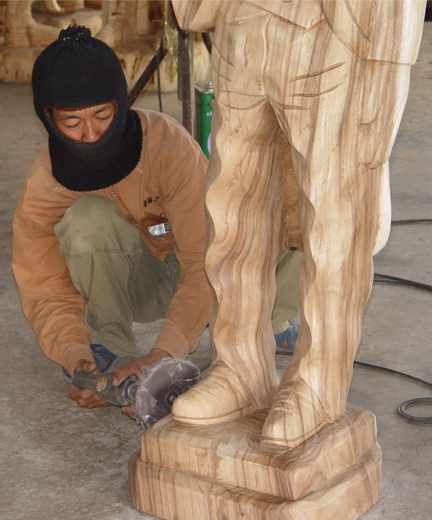
Painting the finished carvings:

Painting is a detailed time consuming process.
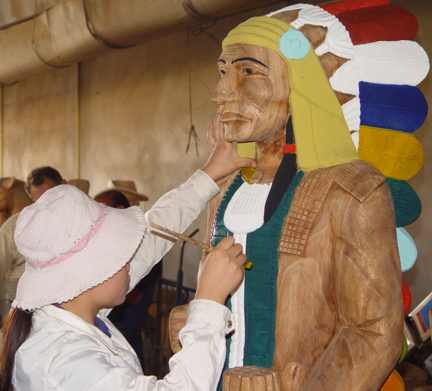

Adding the finishing touches to the painted surfaces:
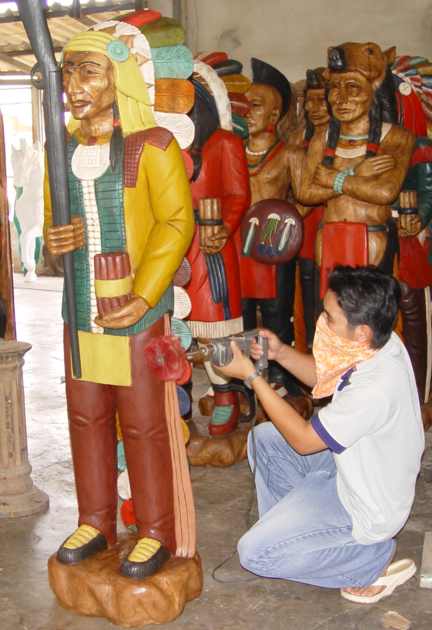
The final step is to slightly distress the surface for an authentic folk art
look.